

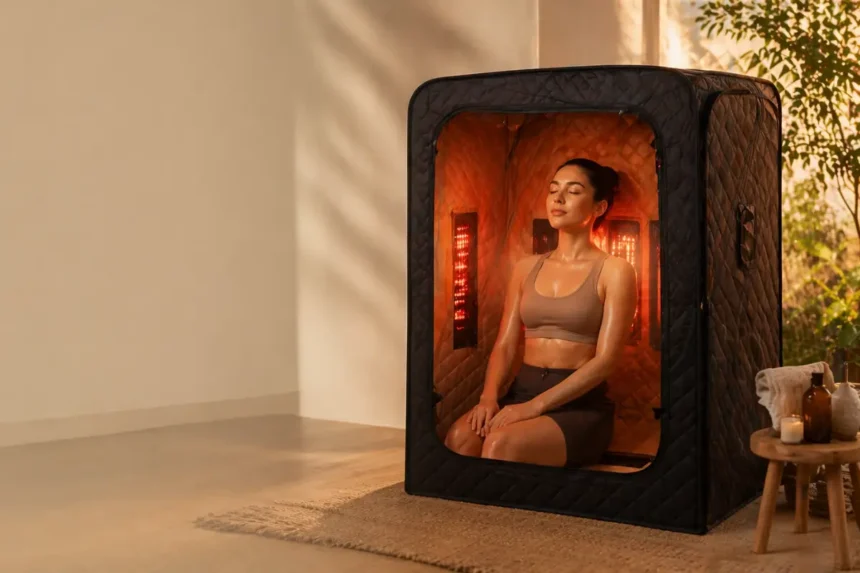
Most users who buy portable saunas need them for indoor use. However, they then have to worry about safety, ventilation, available space, and more.
To answer the question directly, yes, you can use a portable sauna indoors. In fact, they were designed for indoor use in the first place. Even so, there are certain steps to take and rules to follow to get the most out of it and stay safe.
- Can You Use a Portable Sauna Indoors? The Short Answer
- What You Need Before Setting Up Indoors
- Portable Sauna Indoors: Step-by-Step Indoor Setup Guide
- Steam vs Infrared Indoors: Is There Any Difference?
- Common Indoor Setup Mistakes
- FAQ
- Can you use a portable sauna indoors?
- Do portable saunas damage floors indoors?
- Do you need ventilation indoors?
- Can you leave it set up permanently indoors?
- Conclusion
Indoor setup is simple, but it matters where you place it and how good your ventilation is, for example. In this guide, we will explain how to set up a portable sauna indoors and what else to consider.
Can You Use a Portable Sauna Indoors? The Short Answer
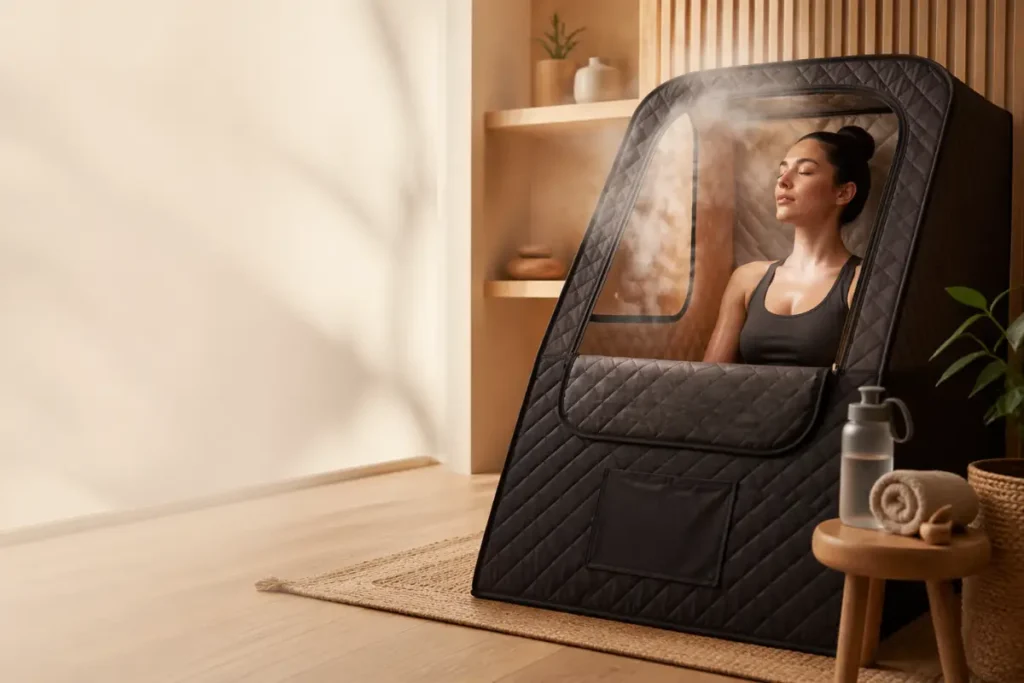
The short answer is yes – it is fine to use a portable sauna indoors. They were created to be compact and take up as little space as possible. They also have low power requirements, so they can easily be used in apartments and other small spaces.
Portable steam and infrared saunas also have a foldable structure. This is not accidental – they were made to be easy to fold and store away.
When used indoors, they are often placed in bedrooms, bathrooms, home gyms, and similar small spaces. This is what they were designed for.
You might hear claims that at-home portable steam saunas are meant to be outdoor-only or spa devices. However, this is a misconception, and their indoor use is the standard, not an exception.
What You Need Before Setting Up Indoors

Every portable indoor sauna was designed with ease of use in mind. With that said, you need very little to get started. To set them up, you will first need space for them.
This is not a big requirement, but it should be a flat, stable surface. If you have enough room for a tent or blanket, you have everything you need. Just note that it should not be a tight corner or a cluttered area.
Next, you should have access to a power outlet. Infrared saunas need to be plugged in to start producing the heat.
Meanwhile, steam models need electricity to heat up the water and turn it into vapor. Ideally, go for the power outlet directly and avoid using extension cords, if possible. Also, with steam units, make sure to keep the cables away from the water.
Another important part of your preparations is to have good ventilation. You don’t need outdoor ventilation – just a good airflow in the room.
Opening windows or doors should suffice for steam models. Infrared units do not need that much ventilation, but can still benefit from a solid airflow.
Lastly, it’s not a bad idea to use a mat or towel under the unit for surface protection. Steam models build up moisture and might damage your floors in certain scenarios. However, you can easily prevent it with solid preparation.
Portable Sauna Indoors: Step-by-Step Indoor Setup Guide
Learning how to use a portable sauna indoors is a simple and easy process. All you need to do is follow a few steps, and you can have it set up in no time.
Choose the right room

Start by choosing the right room. Most people choose to set up their portable sauna in their bedroom or bathroom. With that said, you can do it anywhere, as the only real rule is to avoid cramped spaces with poor ventilation.
Assemble the unit
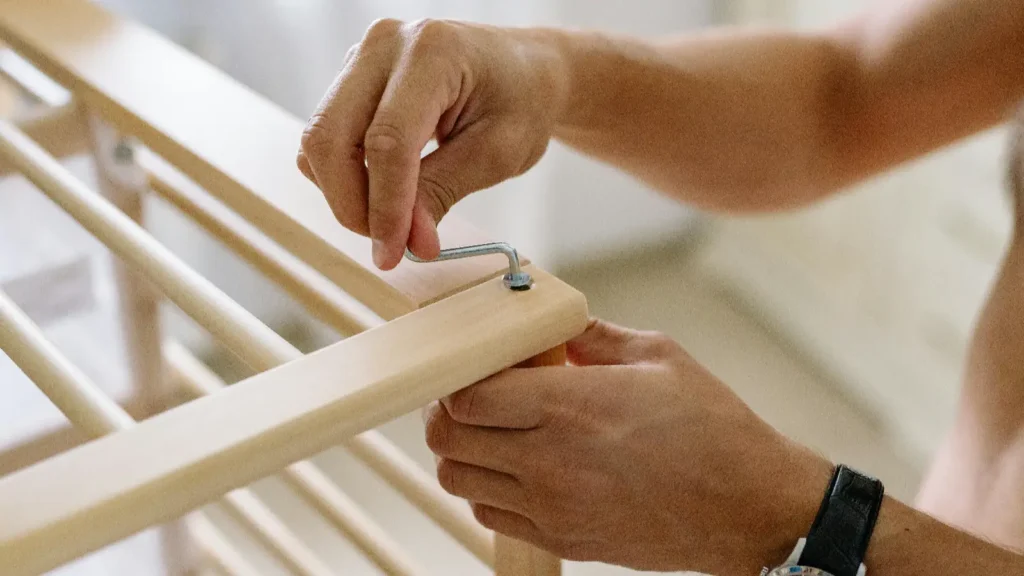
Once you pick the right place, you should next assemble your sauna. Assembling a tent usually takes five to 15 minutes, which covers frame and fabric setup.
Blankets are much faster and simpler, since you just unroll them and plug them in. With assembly, the most important thing is to ensure stable positioning before heating.
Connect the heat source

This step is only for steam-based portable saunas. Infrared tents and blankets come with infrared panels that are already in the fabric. With steam saunas, you get an external generator that you need to fill with water. Then, you also need to connect the generator to the tent using a hose through which the steam will travel.
For infrared models, all you need to do is check that the controller is connected properly. Check all the seals and connections to make sure everything is ready.
Preheat
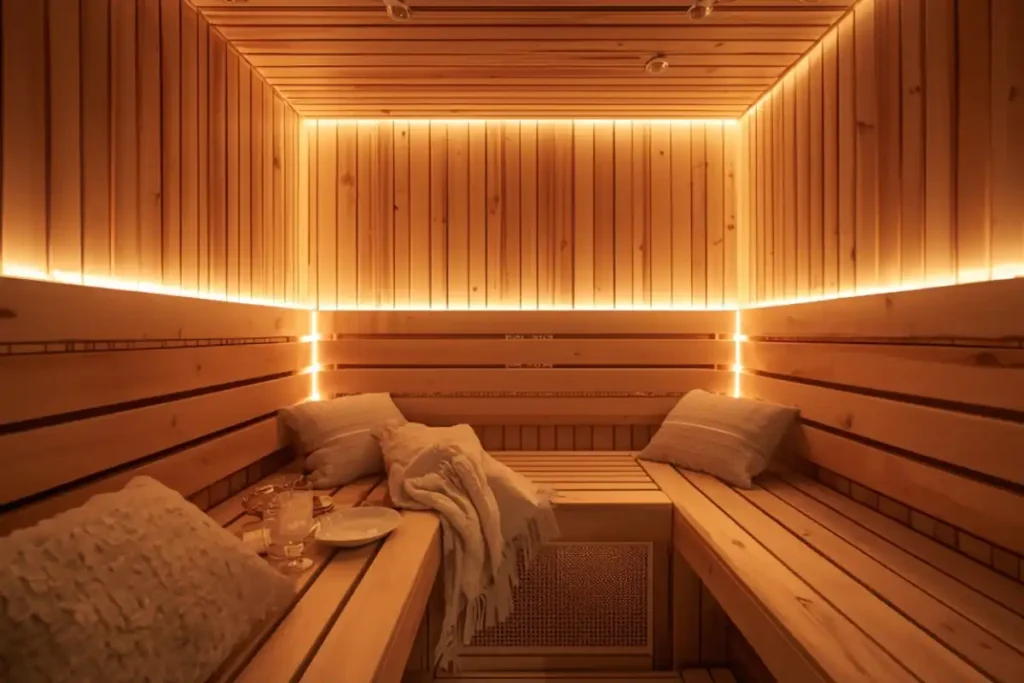
With the checks done, turn the systems on to preheat it. This is not an optional step – make sure that the saunas are ready for you to go in by reaching the target temperature. Use this time to prepare by hydrating, since you will be losing plenty of fluids via sweating.
Note that steam saunas take a bit longer to preheat, but their heat will hit you as soon as you walk in.
Begin session

Finally, when the temperature stabilizes, you can step in. Sit or lie down comfortably and try to relax for the duration of the session. Try to avoid moving too much on the inside – focus on rest and relaxation instead.
Steam vs Infrared Indoors: Is There Any Difference?
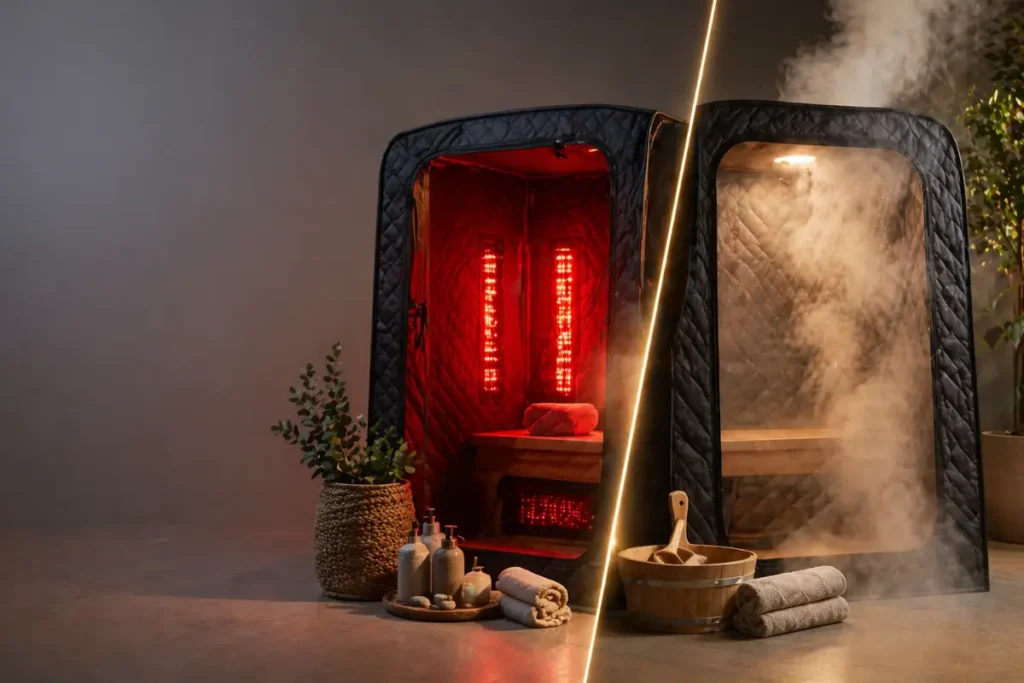
There are a few small differences between steam and infrared sauna use indoors that you should know. Steam saunas generally have higher humidity levels, since they use vapor to heat up the air.
Because of that, they require better ventilation. In small rooms, they could cause condensation, especially if the airflow is bad. Plus, due to the moisture, the experience feels more intense indoors.
In comparison, infrared saunas use dry heat, which makes room management easier. There is also far less moisture buildup, and your placement options are more flexible. Beyond that, they are simply more beginner-friendly, especially in apartments, while providing all the usual portable sauna benefits.
Common Indoor Setup Mistakes
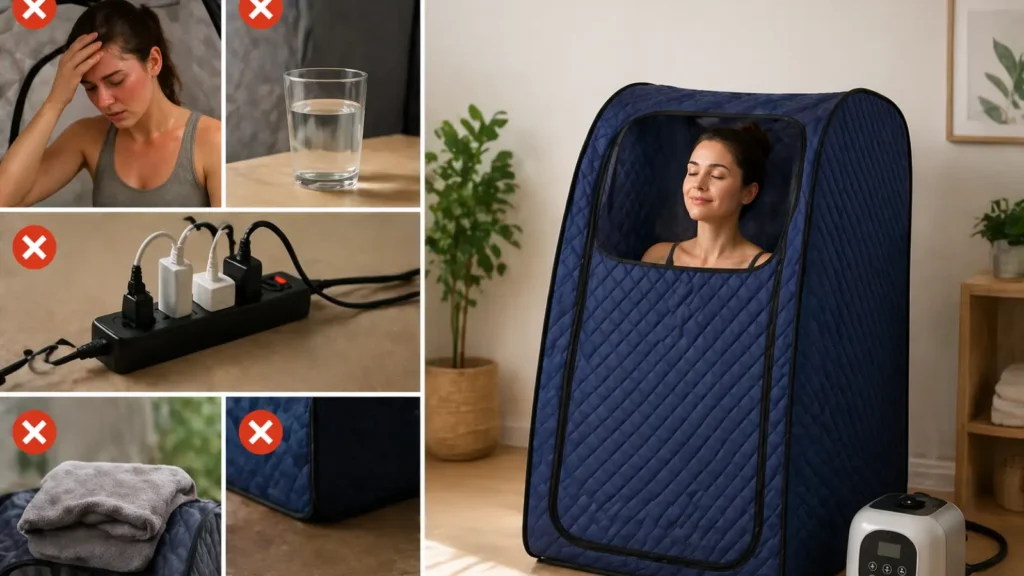
As we have seen earlier, using a portable sauna tent indoors is fairly simple. Even then, there are some common indoor setup mistakes that users tend to make.
The biggest mistake is to use a steam-based model in a sealed, unventilated room. This will cause a significant moisture buildup in the room, which is something you should avoid. Also, placing the sauna on an uneven or soft surface is not a good idea. If you do it, you risk tipping over or having heat concentration issues.
Overloading electrical sockets can also happen, especially if you use extension cords. This is why it is best to go directly for the power outlet.
Other issues, such as condensation buildup or setting the sauna too close to walls or furniture, have a common issue. In other words, most problems come from poor placement, not the sauna itself. This is why it matters to learn how a portable sauna works before using it.
FAQ
Can you use a portable sauna indoors?
Yes, they are designed for small indoor living spaces.
Do portable saunas damage floors indoors?
Not usually, although steam units may cause moisture buildup if you don’t use a mat or a towel.
Do you need ventilation indoors?
Yes, especially with steam models, to prevent excess humidity.
Can you leave it set up permanently indoors?
It’s better to pack it away after use to avoid space and moisture issues.
Conclusion
With a portable sauna, you can have your wellness routine at home. However, many still worry about using a portable sauna indoors. In this guide, we sought to explain that portable saunas are primarily indoor devices. As such, it is perfectly fine to use them in your house or apartment – but you need to follow the rules.
With portable saunas, the setup itself is simple, and you can hop in and relax within minutes. However, the thing that matters the most is its placement. Placing it in a room with poor ventilation, close to the walls or furniture, could lead to negative effects.
Moisture can build up, and in some cases, you might also experience wet floors. However, all of it can easily be prevented by following the advice in this guide.
So, if you are looking for the right indoor-friendly model, check out our top picks for portable home saunas. Also, if you worry about the price, consider our review of the best portable saunas under $200.